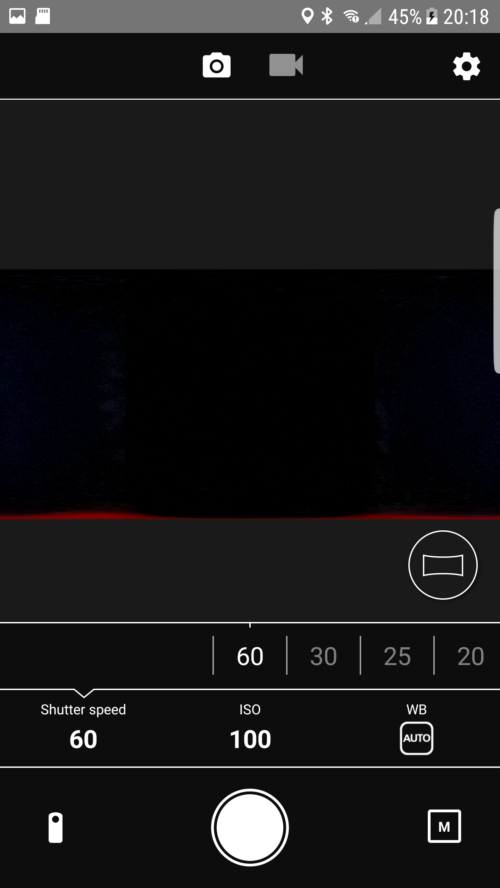
Are you wondering what all the different settings do in the app? I’ve put together a simple guide to explain what does what and why. Hopefully this will help answer a few questions you may have.
You’ll want to set the resolution to its highest the Theta S is 5376×2688.
CT Settings: Adjust with a specified color temperature value in the range 2500 to 10000 K. Tap
There are 5 different shooting setting to choose from
Normal: As you expect just point and shoot.
Interval shooting: You can set the camera to automatically release the shutter at intervals ranging from 4 seconds to 60 minutes, 2-200 shots. Use this to create a timelapse.
Interval Composite: This is like HDR but with time intervals. The camera takes several photos and ‘retains the bright areas of each shot.’ For example It can be used for taking photos of the night sky and recording star trails. A tripod is needed to use this function.
Self Timer: The time it takes to take a picture after pressing the shutter button, you can choose between 2, 5 & 10 seconds.
Multi Bracket Shooting: This is a general technique of taking several shots of the same subject using different camera settings. You can take from 2 – 13 shots using a different exposure setting for each. When combined in post processing you can create a high dynamic range image that exposes different portions of the image by different amounts.
You can also select different shooting mode priorities:
ISO: The ISO sensitivity and white balance can be set. The lower the number the less sensitive your camera is to light and the finer the grain. Higher ISO settings are generally used in darker situations to get faster shutter speeds.
Shutter Speed: The shutter speed and white balance can be set. It is responsible for creating dramatic effects by either freezing action or blurring motion. Anything slower than 1/60 you will need to use a tripod.
Manual: The shutter speed (60 to 1/25000), ISO sensitivity (64 to 3200), and white balance can be set.
While the camera is in auto mode you have 3 different auto shooting modes.
DR Compensate: (Dynamic Range) Mainly for use outdoors in places with differences in brightness and darkness. This will take pictures with different exposures and tone map the final image with a balance between the light vs shadow areas , sort of low range HDR process. Needs to be on a tripod.
HDR Rendering: (High Dynamic Range). Scenery and other places with high dark-bright contrast. It makes more use of the range of colors, the darks are darker and the bright areas are brighter. Needs to be on a tripod.
Noise Reduction: Indoors or other dark places. This reduces the chance of images with small dots all over them. Needs to be on a tripod.
EV: (Exposure Value) You can adjust the exposure compensation setting at 1/3 EV steps from -2.0 – +2.0 EV. Your changes can be seen on the live view feed.
If you found this helpful, please like and follow my social pages


