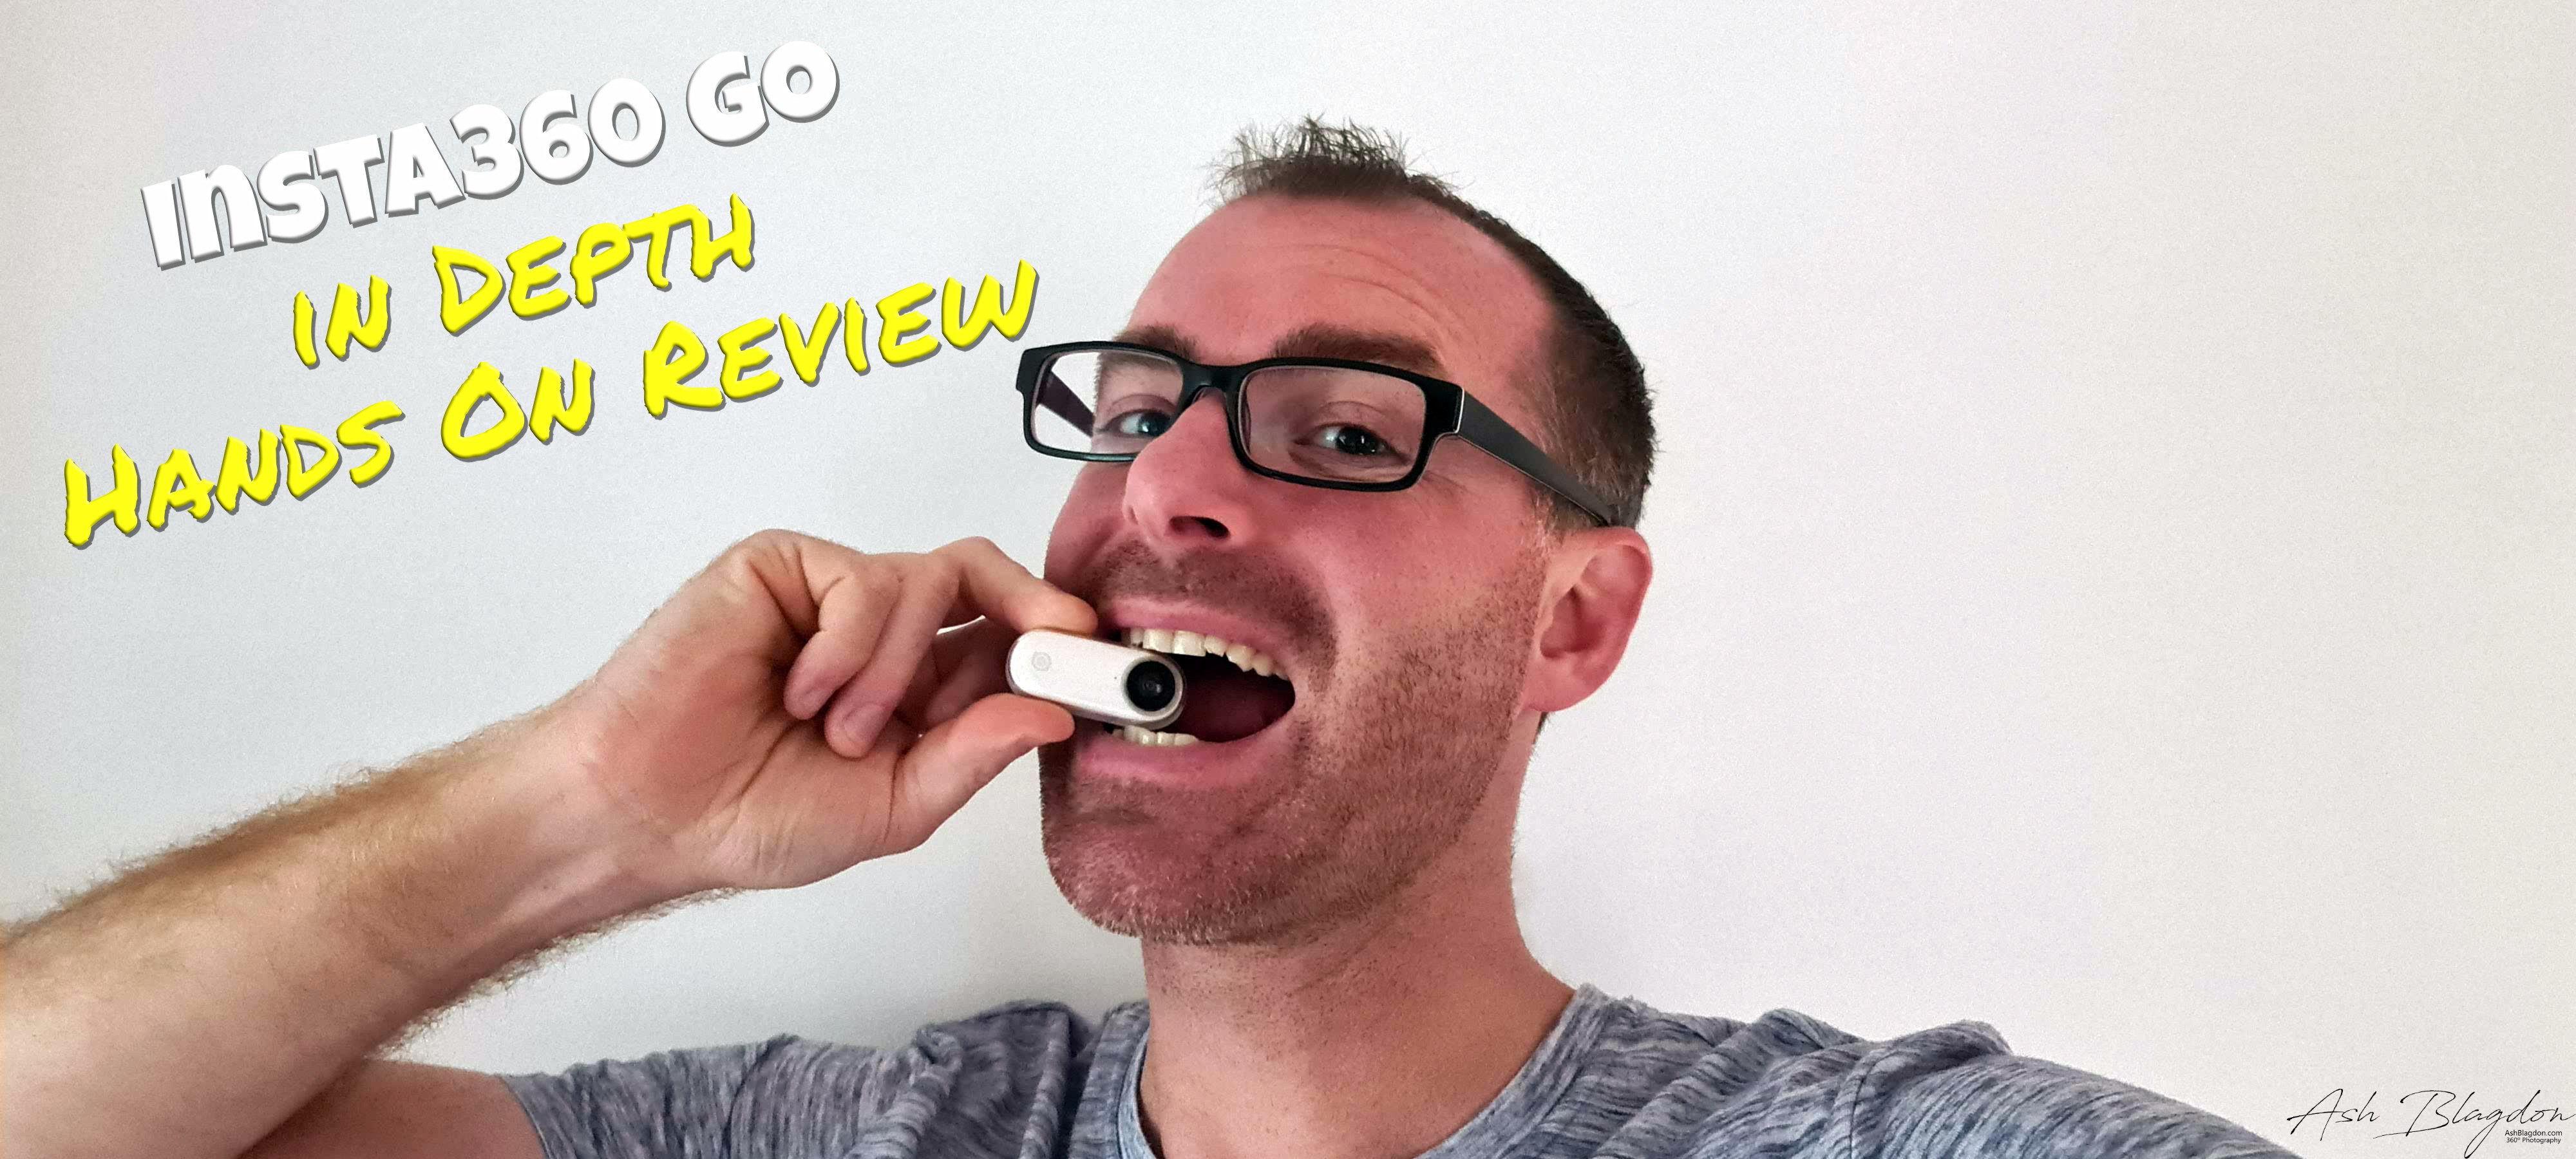
Insta360 GO in Depth Hands On Review. Everything you need to know about the Insta360 GO, the world’s smallest stabilised camera. I will be constantly adding to this post all of my experience and of course share with you all the tips I pick up along the way.
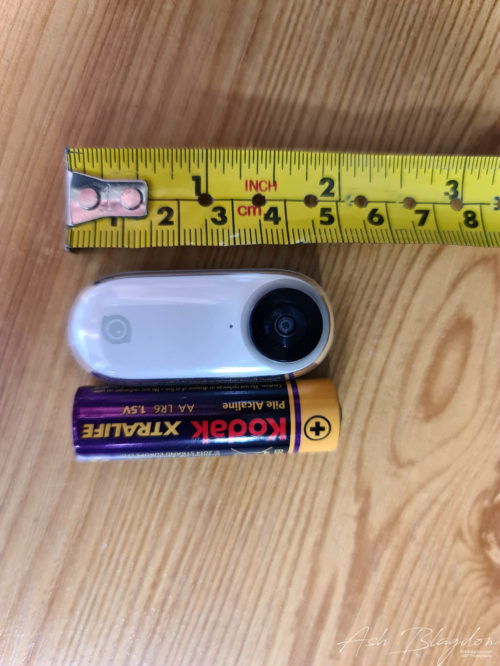
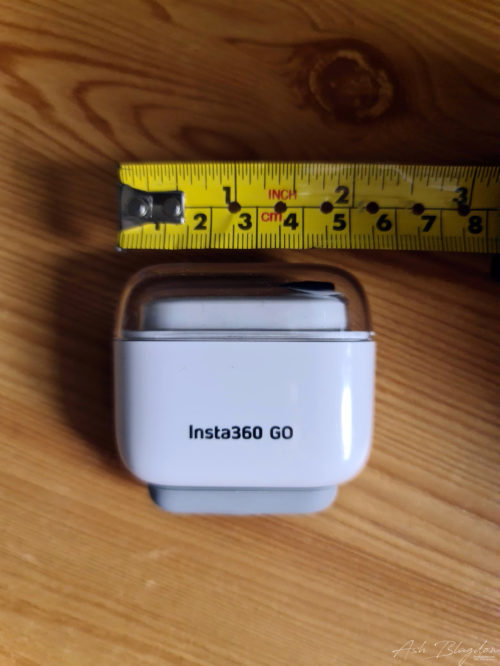
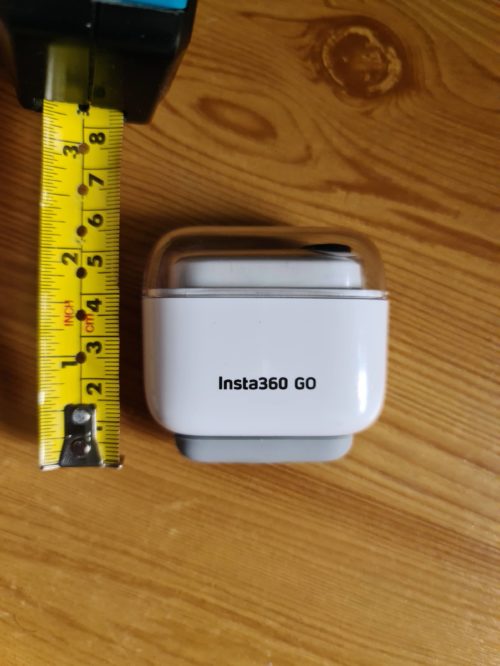
The Insta360 GO is the world’s smallest stabilised camera and insta360 first a non-360 camera. Roughly the size of an AA battery, it’s super-light and weighs a mere 20g. Here’s the official Insta360 launch video;
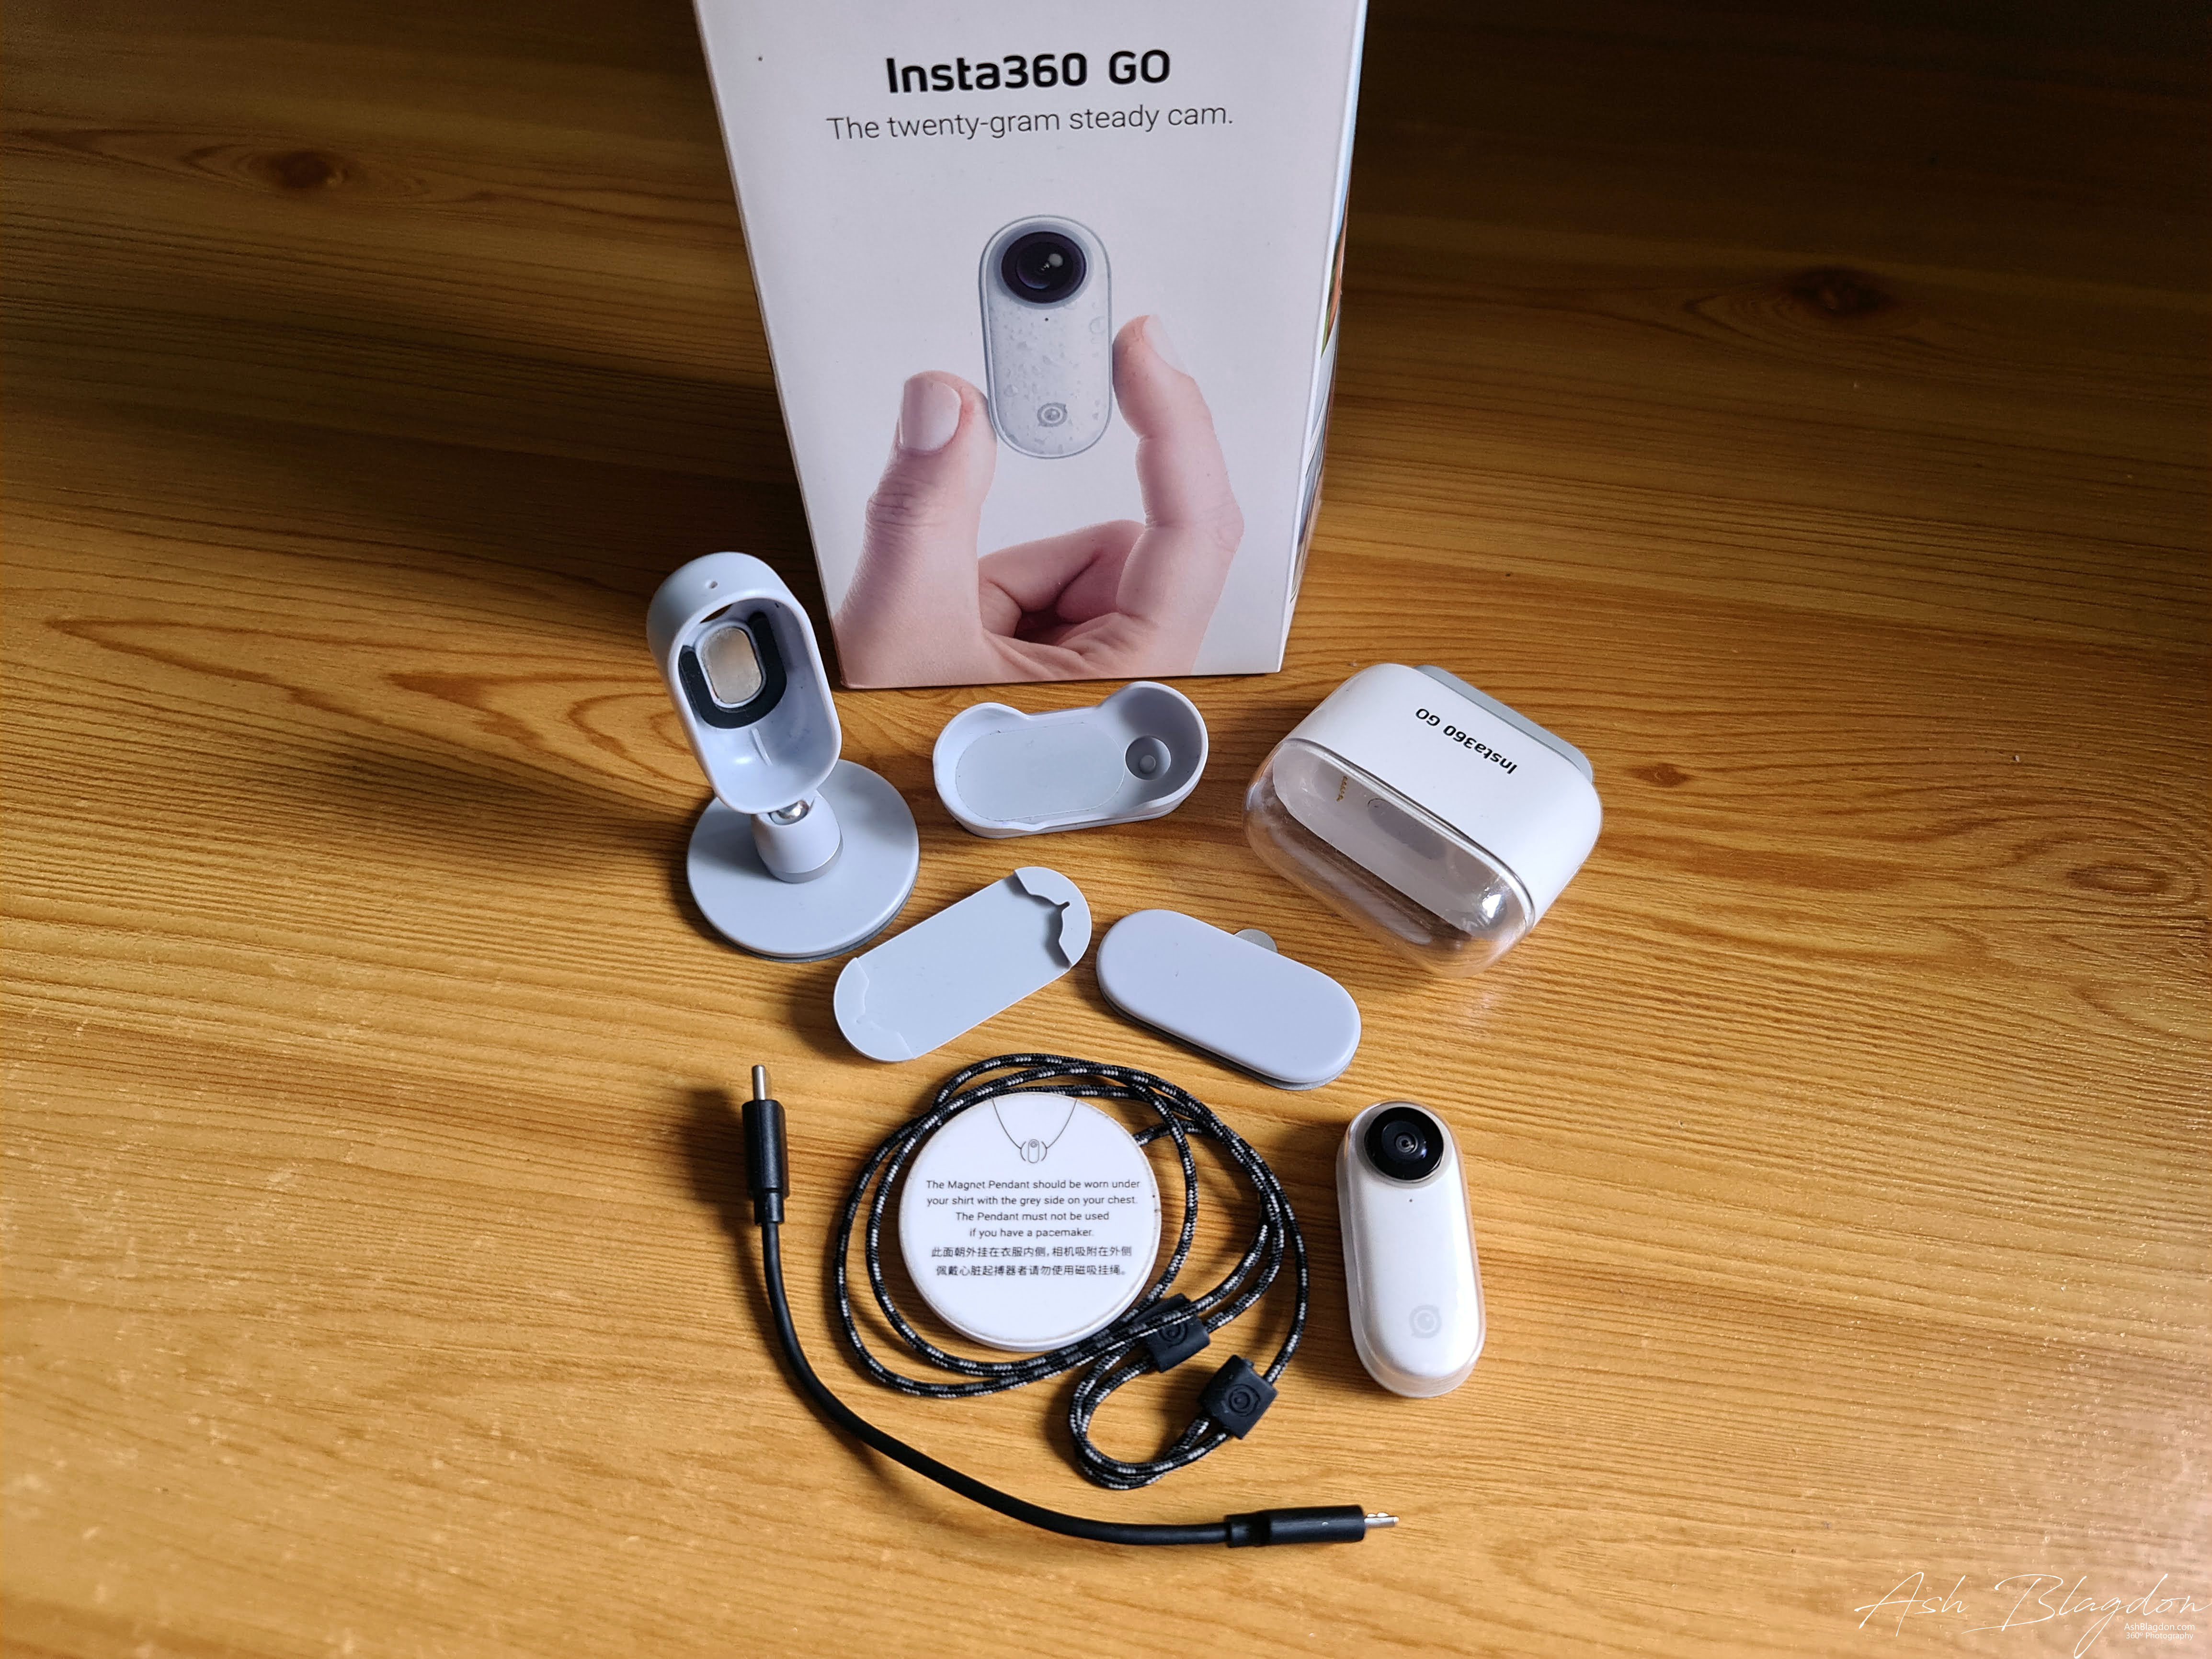
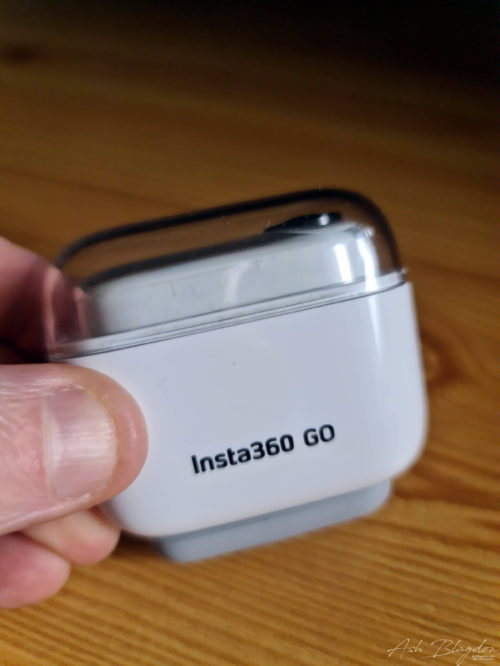
What’s in the Insta360 Go box?
- Insta360 GO + Charge Case
- The camera
- Charging Case
- Pivot Stand and Pivot Stand Base
- Magnetic Pendant
- Easy Clip
- Angle Wedge
- Charge Cable
- Micro-USB to USB-C
- Stickers
- Quick Start Manual
My favourite mount is the necklace. This has a metal disc attached to an adjustable lanyard that you wear beneath your clothes and stick the camera to on the outside. It doesn’t work too well with thick coats and jumpers but for T-shirts and shirts it’s a great casual mounting option and attaches pretty sturdily, too.
There are also a couple of adhesive mounts included – one a mini stand, the other a rubberised reusable sticky plate and a belt/hat clip that’s best used if you want to wear the camera for some vigorous activity like cycling or running.
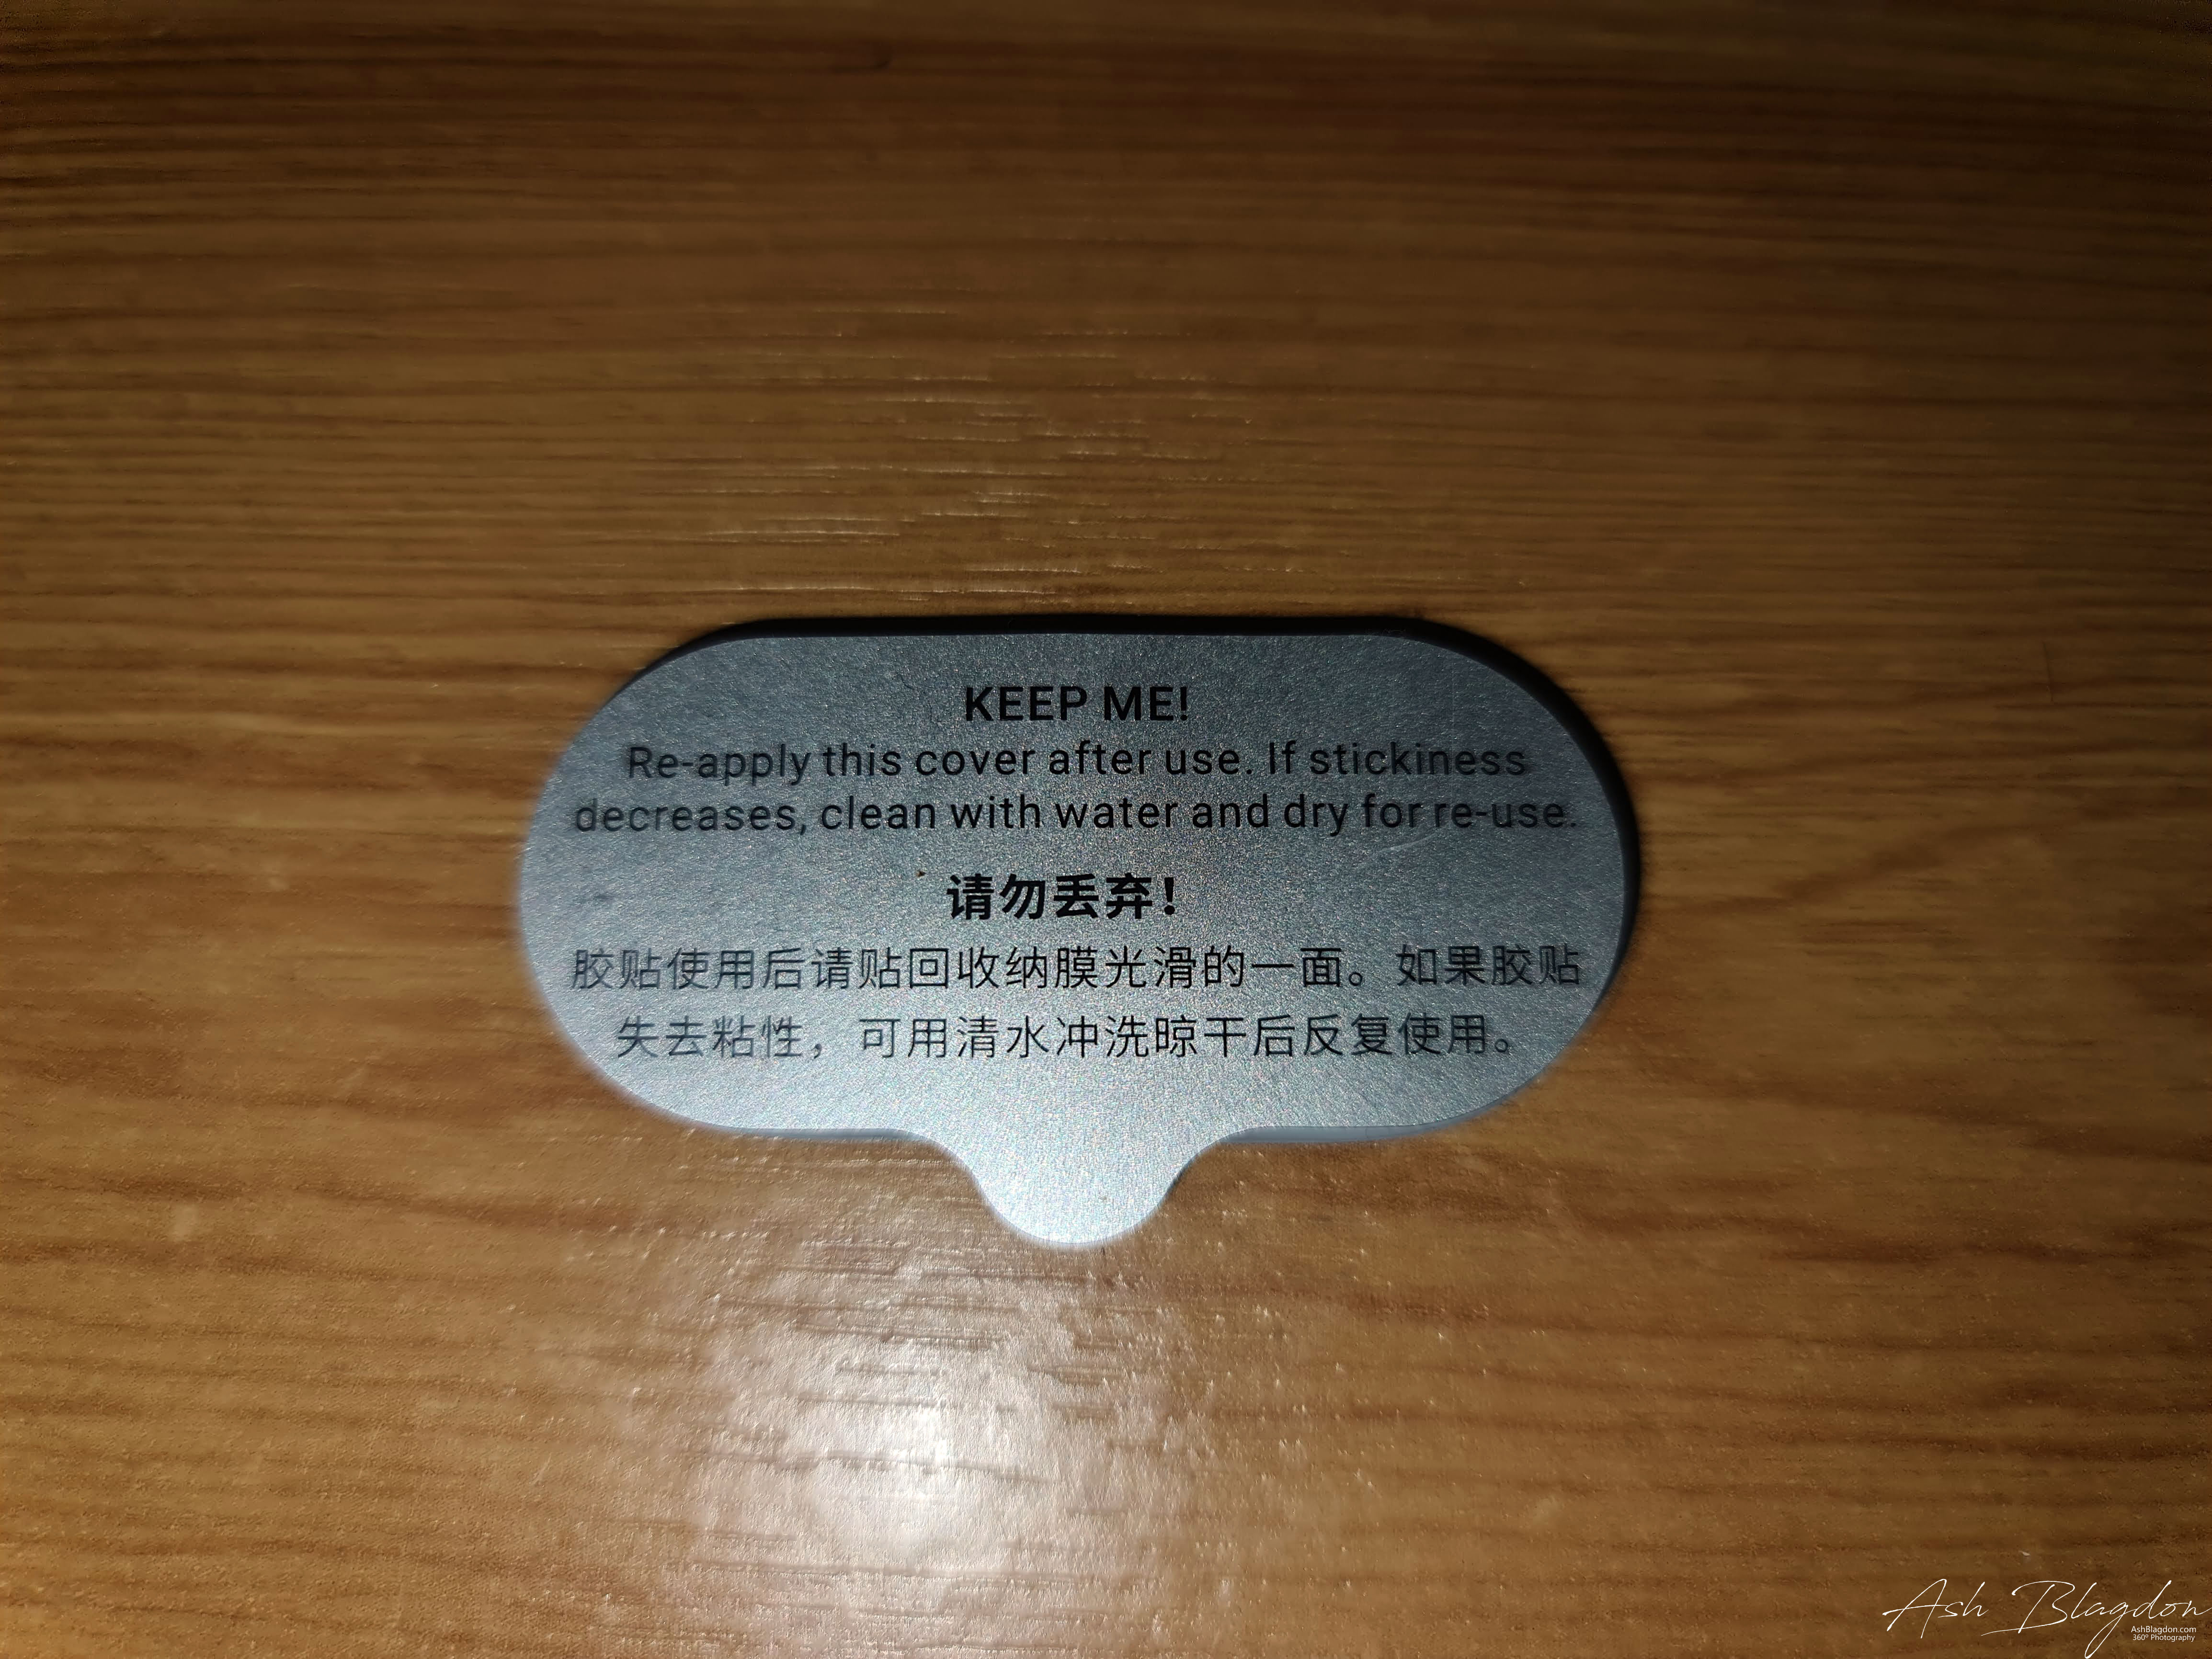
- Tip: If mounts lose the sticky effect, just wash them with water to refresh
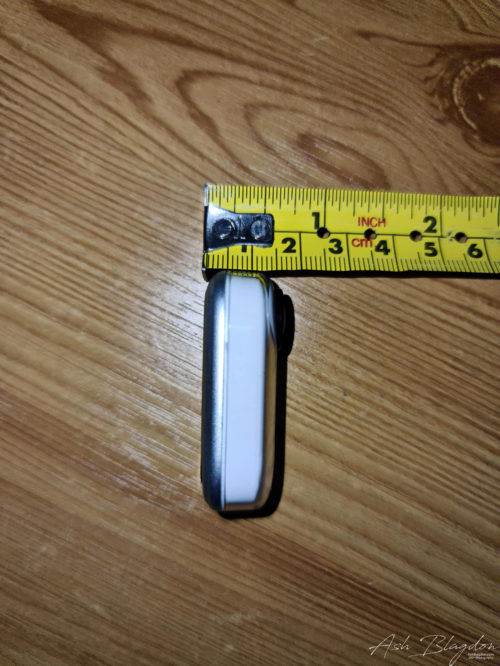
The Insta360 Go is absolutely tiny – thinner and shorter than my thumb – It has a magnetic rear and a range of clever mounts supplied in the box, you can mount the camera in all sorts of places and barely be aware it’s there.
To turn the camera on just press the logo on the front bottom of the camera. The Go’s button is actually on the back, but a simple press on the front and it will still turn on as long as it has a firm surface in behind.
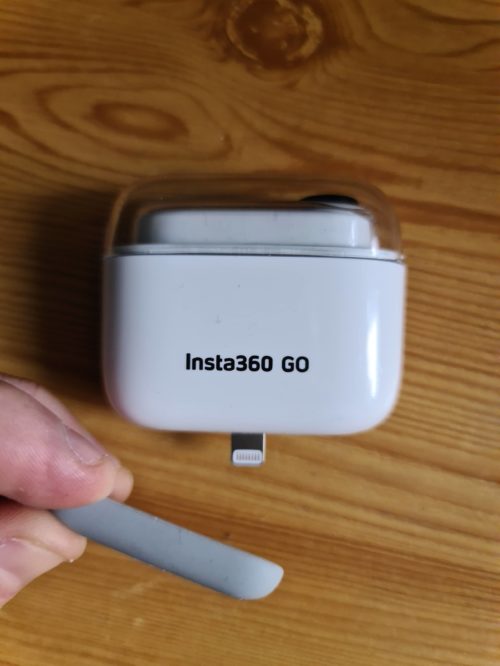
There’s no Wifi connection as with more expensive cameras, instead you have to plug the thing in physically, either via the micro USB socket on the side for Android handsets or the stubby lightning connector on the base of the case for iPhone.
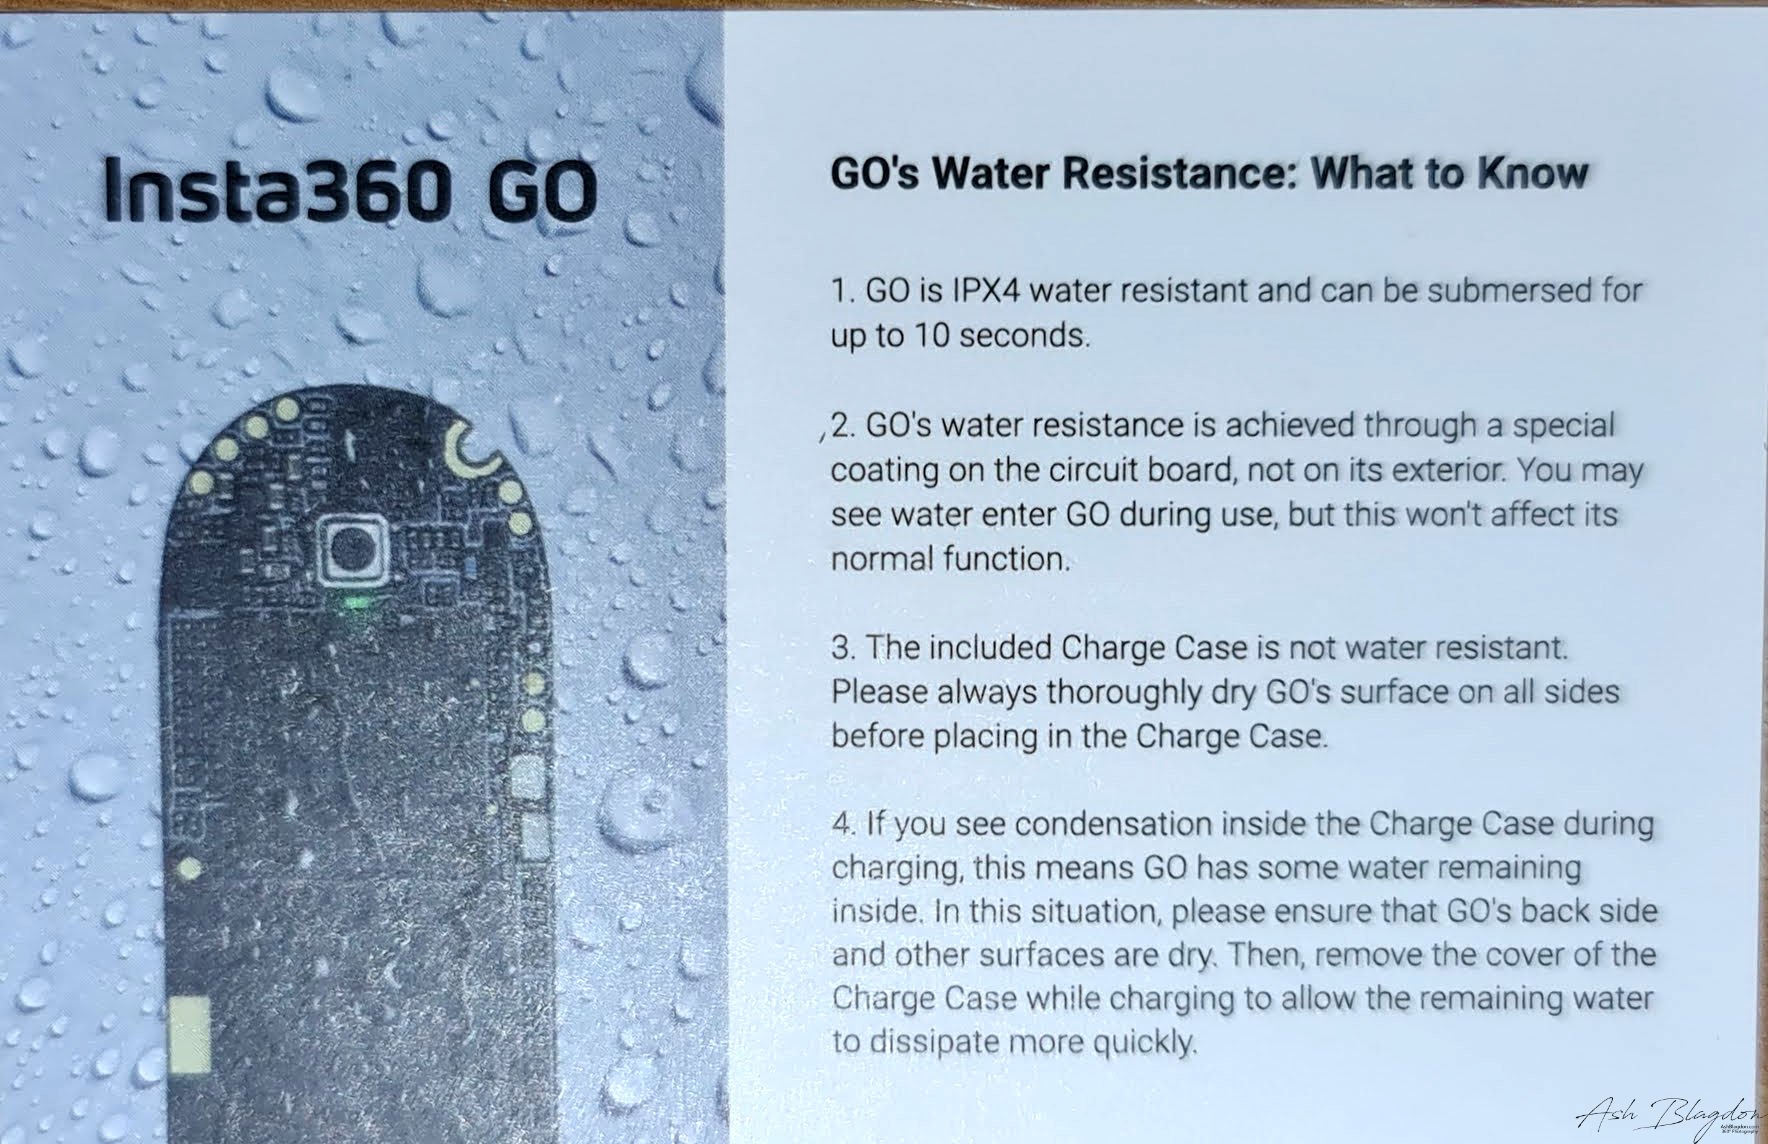
It’s rated at IPX4, this means it can handle a splash or a quick dunk up to 10 seconds, but certainly not underwater shooting.
- Be very careful with the stand, it is only a plastic thread and mine seems to have come cross threaded. I haven’t been able to use it once as the thing won’t screw onto the base straight and keeps cross threading. I’ve given up as if i force it it just damages the weak plastic thread even more, either way it’s useless to me and a very poor design flaw.
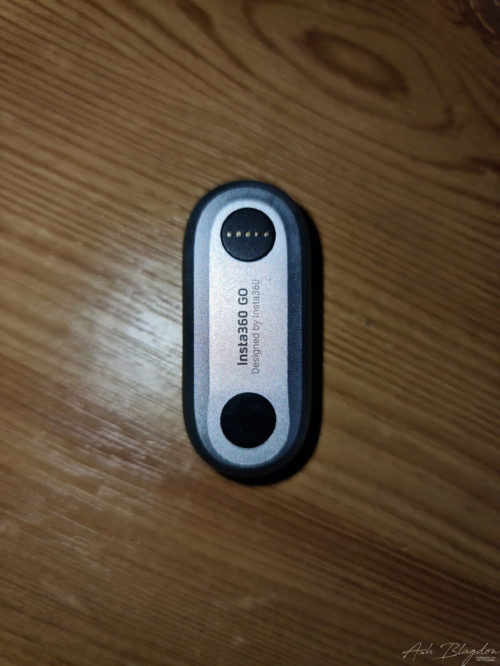
- When placing the camera back in its case make sure to line up the 5 gold connection points with the ones on the back of the camera and you don’t put it in upside down.
- The rubber bung provided to protect the iphone connector isn’t tethered to the case in any way. Which means you’re highly likely to lose it.
Before you shoot anything, make sure you’ve calibrated the camera first. Settings > Gyro Calibration. Place the Go on a level surface and follow the on screen instructions. A green light will indicate the calibration is complete.
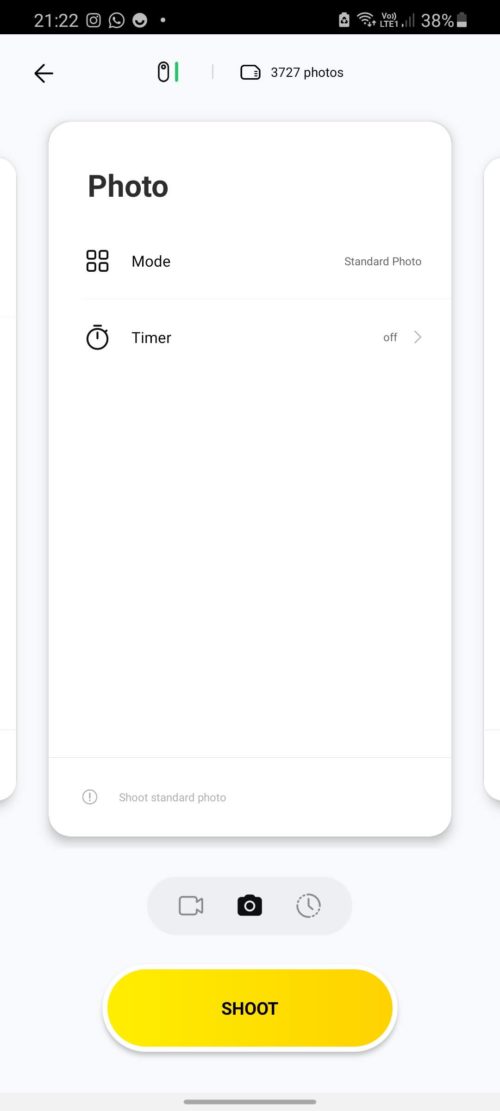
- Photo Modes – Standard
-
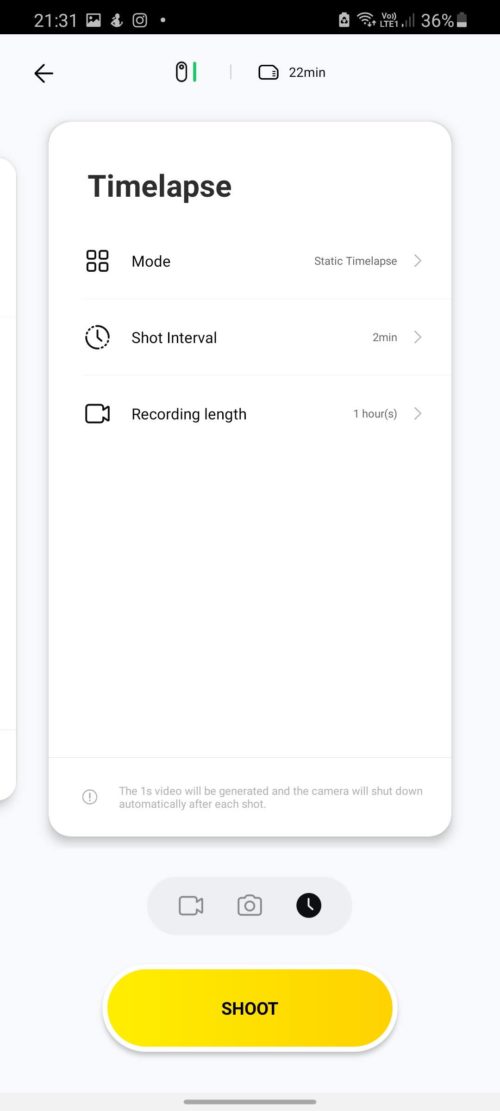
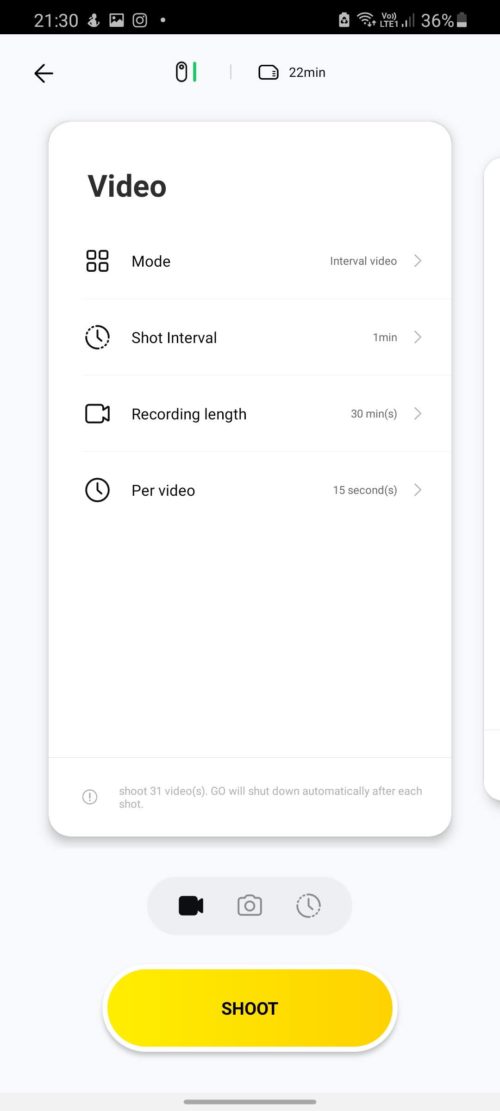
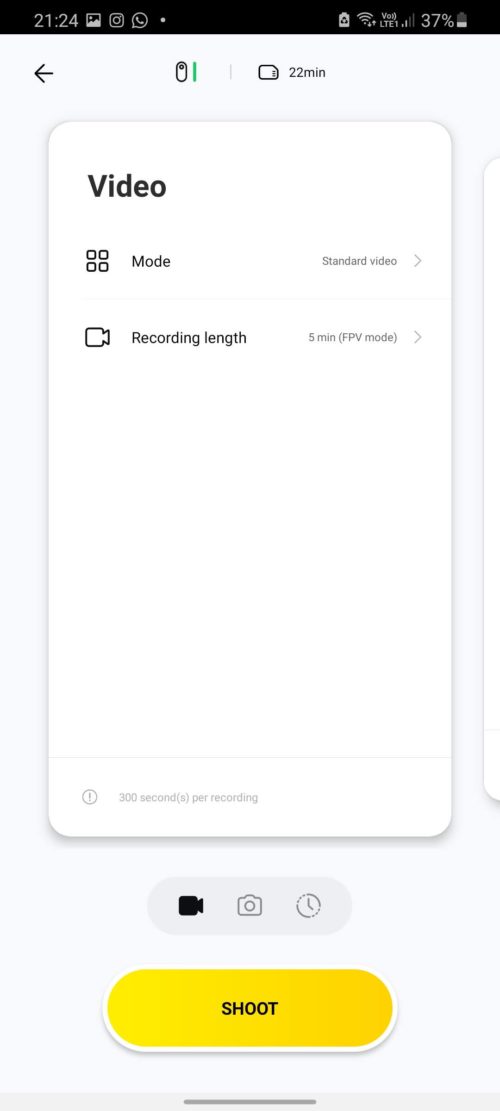
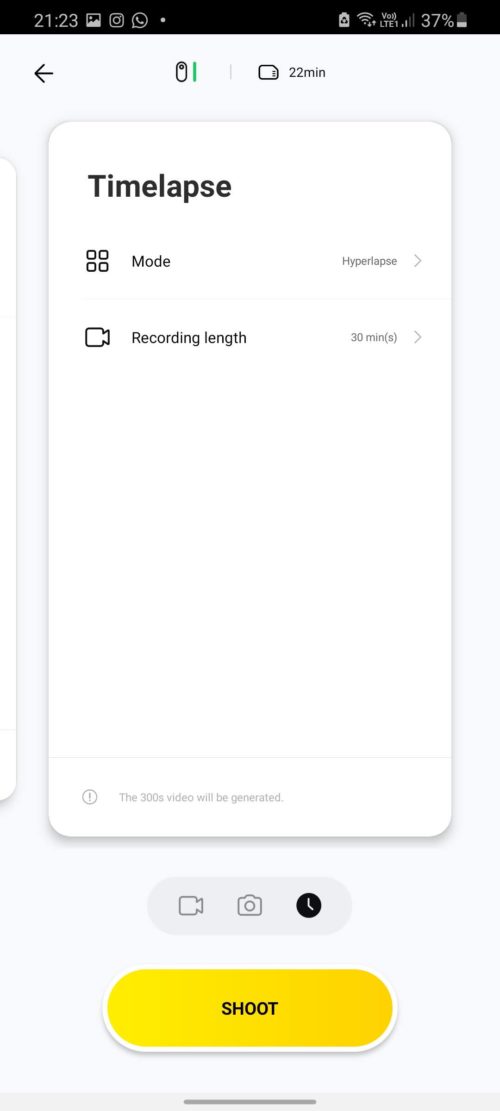
Video Modes – Standard, Interval Shooting, Static Timelapse, Hyperlapse, Slow Motion 100 fps.
Here we meet the first of the Insta360 Go’s limitations. It’s made to shoot 15s, 30s, 1 min and 5 minute video clips, not capture a whole off-road bike ride that you edit down afterwards. It can’t do that job, and the only longer forms of capture it can manage are time-lapse and hyperlapse. The Go is designed to capture highlights, so they assume it will be at least a few more minutes before you record another highlight. GO videos will be auto-transferred via the companion app in 1080p25 Full HD resolution, and photos in up to 2560 x 2560. The internal 8GB will store about 100 15-second video clips between each transfer.
Quick capture: with the camera off, press the button once. By default, this records a video clip. After the clip is recorded, the camera turns off automatically.
Turn on or off: just hold down the power button for 3 seconds to turn it on or turn it off.
You have some control when just walking around with the camera attached too. Single, double and triple presses set off different modes. You choose which in the companion app.
If you take a photo, the camera will remain on. If you record a video or hyperlapse, the Go will turn itself off after recording, vibrating as it does so.
In addition to the on-camera controls, you can also have additional controls using wireless control. Turn on the camera, launch the app, tap on the camera icon, and tap on Bluetooth control. This will make additional shooting modes available, such as static time lapse and interval video. However the Bluetooth control is limited, you don’t get a preview image of the camera view and you can still only review your pics and videos by plugging the Go into the charge dock, and then plugging that into your phone.
The camera responds to each command with a short vibration (letting you know that recording has started), followed by a long vibration when recording stops. A small light on the front of the camera blinks to let you – and others – know that it’s recording.
FlowState is easily the best part of the Insta360 Go’s footage, this is electronic stabilisation by using a 6-axis gyroscope. Still not as good as a 360 camera though.
- Tip: The camera has to be turned on for the double and triple press to work.
- Tip: You can remap all of the button presses, which is handy if you like to use one recording function more than others.
- Tip: recording anything over 1 minute the camera will start to overheat. You will find especially on a sunny day you may have to let it cool down before you can use it again.
Here’s a video from my day using the Insta360 Go at Thorpe Park and a hyperlapse walk to Thatcher Point a famous landmark in Torquay.
The Insta360 Go’s battery seems to drop fairly quickly when experimenting with a few different modes. I’d recommend taking the battery case with you if you’ll be out shooting for more than couple of hours. The battery is good for only around 25 videos of 30 seconds each. Then you have to recharge it, which takes 18 minutes.
- Tip: It cannot be used while charging.
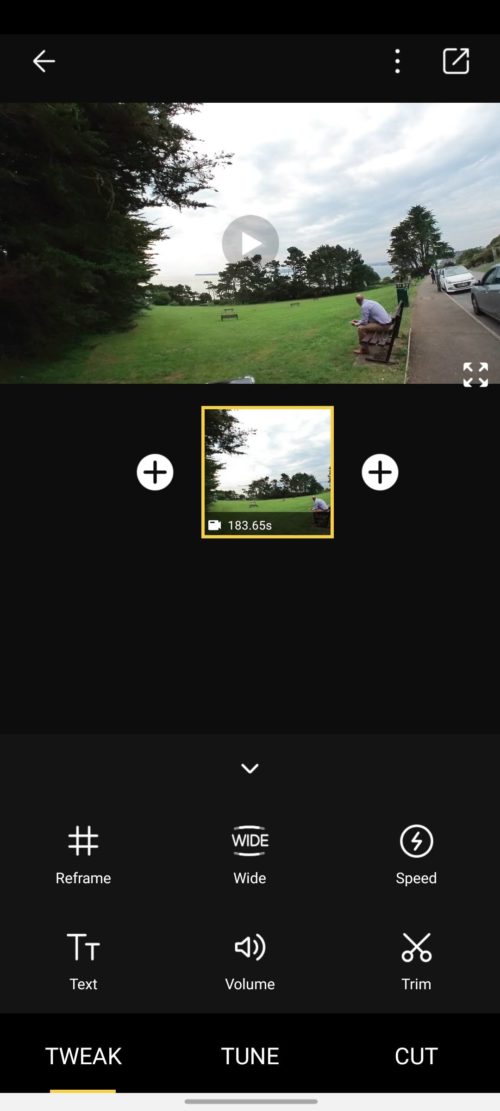
One of the best things about Insta360 cameras is the editing tools in its smartphone apps and that continues with the Go. Once you download a video to your smartphone, you can adjust its speed (2x, 4x, 6x, 8x and 16x), apply filters, adjust lighting, contrast and more, and add a soundtrack. The new auto stories themes and the ‘Flash cut’ can come up with some impressive looking stuff that’s great for quick social uploads and the like.
Here is a tutorial for Insta360 Go, showing how you can edit videos with the mobile app.
With the Go in the charging case, use the included Micro USB cable to connect the charging case to your PC or Mac. You’ll be able to copy the Go’s files, which are in .insp (photo) or .insv (video) format, to your hard drive. From there, you can use Insta360 Studio or Adobe Premiere CC (with the Insta360 plugin) to view the files. With Studio, you can stitch the files, change the aspect ratio, or adjust the video speed. However, Studio cannot apply keyframing to the Go’s videos.
There are two ways you can update the firmware.
- Mobile, Place the Go in the charging case, connect to your phone and open the Go app. the app will prompt you if there is an update available. Then simply download and follow the onscreen instructions.
- Desktop, Go to the insta360 website and download the new firmware. Connect the Go via usb cable to your computer. Check for any old firmware files and delete them. Copy the new ‘insta360FW.bin’ file to your Go. Disconnect from your computer and remove the Go from its case. Now press and hold the action button to turn it on. The Go will now install the new firmware automatically.
- IMPORTANT: Make sure you have enough battery power before updating, at least 10%, but I would recommend more. Do not interrupt the upgrade after it starts as you could brick your device!
- The light will flash blue during the update and the Go will automatically restart when the upgrade is complete.
The Insta360 Go is an action camera for the influencer generation. It’s incredibly light, easy to use and makes harsh movement look smooth with incredible stabilisation. Although, the stabilisation is not as good as that of a 360 camera. The small sensor limitations become obvious when the lighting isn’t great. However, if you mostly shoot in good lighting and happy with 30-second clips, you’ll find the Insta360 Go surprisingly capable.
Even after a few days of using the camera, I still had trouble remembering what each button press did. At times I had trouble connecting the camera to my phone and wasn’t sure if the camera was on or recording. The Go was filled with short 1- and 2-second videos of nothing but me staring at the camera, wondering if it was recording.
Be very careful with the stand, it is only a plastic thread and mine seems to have come cross threaded. I haven’t been able to use it once as the thing won’t screw onto the base straight and keeps cross threading. I’ve given up as if i force it it just damages the weak plastic thread even more, either way it’s useless to me and a very poor design flaw.
I feel it’s a good camera for casual shooters and used for social media, especially Instagram Stories and Facebook Stories. It is definitely not a substitute for either a 360 camera nor an action camera because it cannot capture a 3rd person view and it’s not sufficiently rugged and has limited recording capacity. It’s a great camera for capturing candid shots.
Insta360 GO is available for purchase now for £168 ($199) on Amazon or directly from Insta360.
- If you have a pacemaker, do not wear GO on your chest, or use the Magnet Pendant due to its magnetism.
- If the mounts lose their sticky effect, just wash them with water to refresh.
- You can remap all of the button presses, which is handy if you like to use one recording function more than others.
- The camera has to be turned on for the double and triple press to work.
- Cannot be used while charging.
- Recording anything over 1 minute the camera can start to overheat. You will find especially on a sunny day you have to let it cool down before you can use it again.
- Water resistant? Yes, splash proof and it can handle a small dunk, up to 10 seconds. It is not waterproof.
- Press and hold the button for 20 seconds to force shutdown.
- Go to the insta360 website to download new firmware.
If you found this helpful, please like and follow my social pages
Do you own the Insta360 GO? Do you have any tips to share? Have you encountered any problems? Would you recommend it?
Originally Published on: 31 Jul 2020 at 21:01
