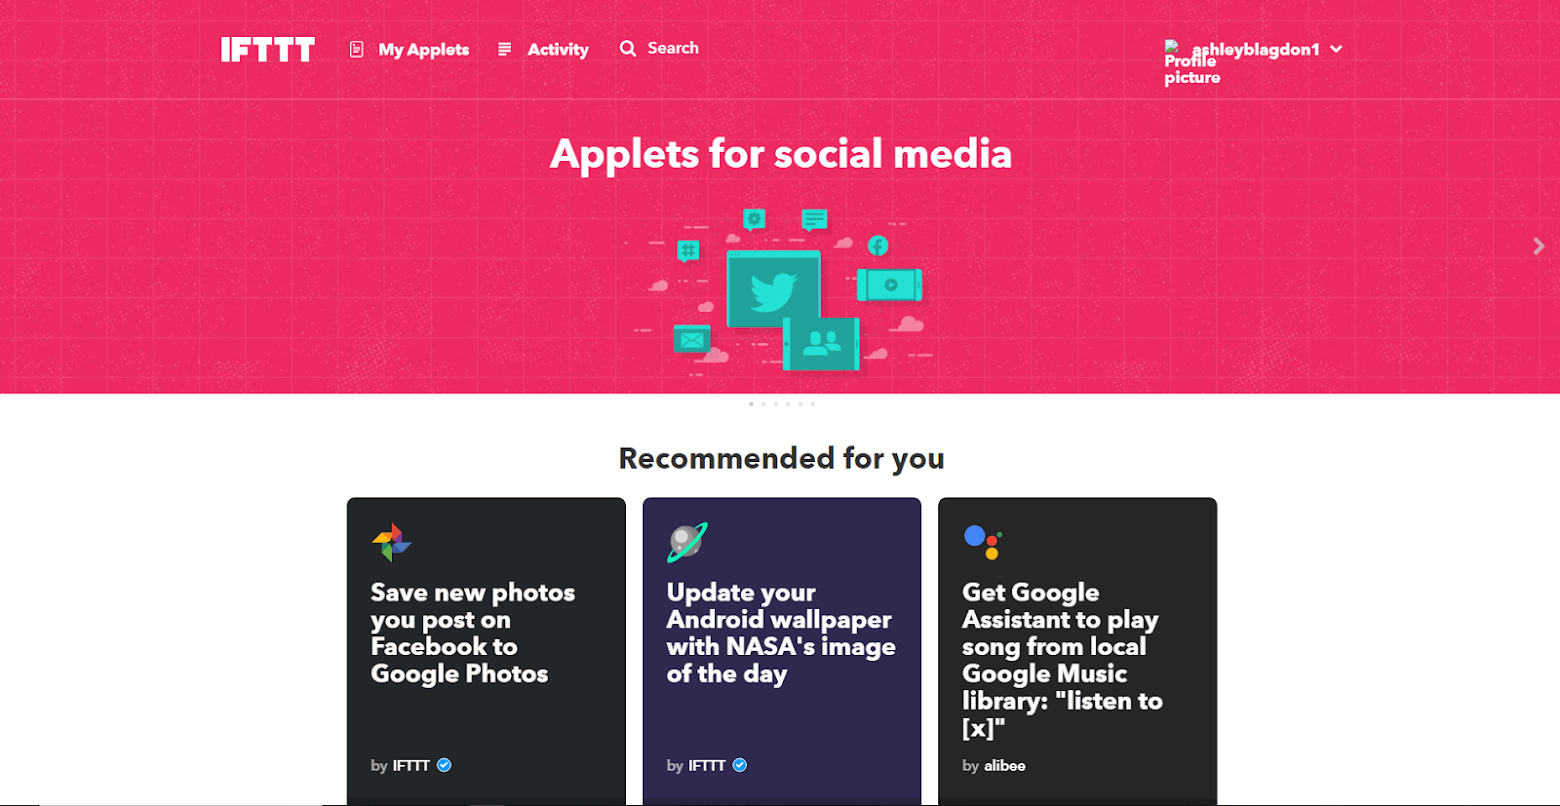
Share to All Platforms with One Post. With so many websites and apps in the world, you’ve probably experienced difficulty in managing them all. Luckily, there’s a single web tool available that acts as an ultimate automation service for all your internet-connected things and it’s called IFTTT, and it’s super easy to use.
IFTTT is a free cloud service that allows for the process known as if-this-then-that (IFTTT), connecting two apps to complete a task on one app based on the condition on the other app. IFTTT supports a repository of applets and services for Android, iOS, Google and Windows platforms. Likewise, its open API lets you create your simple apps and connect it to other apps without any coding skills.
Applets essentially automate your daily workflow, whether it’s managing smart home devices or apps and websites. So, for instance, if you own the post on instagram, you could use IFTTT to automatically post to facebook and twitter. You can even specify to only re post a specific hashtag. In another example, you could use IFTTT to automatically email readers when they comment on your WordPress blog.
Here’s an example Applet for Twitter and Instagram:
- Login to IFTTT’s website.
- Go to your username and click services.
- You may see some auto-generated Applets based on your account information, such as your time zone and email address.
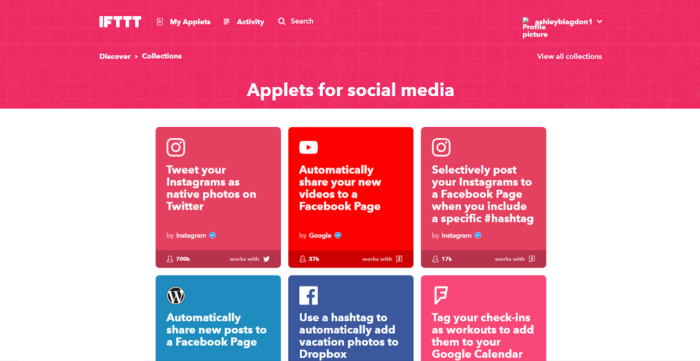
- Search for an Applet or a service you’d like to find a relevant Applet for, such as Instagram.
- Select one you want to use. For instance, there’s an Applet that lets you tweet your Instagrams as native photos on Twitter.
- Click the “Turn on” button to turn on the Applet.
- IFTTT will ask for permission to access both your Instagram and Twitter. Click OK and then authorize access to each service.
- Once done, you’ll be brought back to the turned-on Applet on IFTTT.
- To view your Applets, select My Applets from the top of your IFTTT dashboard.
Tip… you can connect more than two apps if you create a chain, for example If you share a post to instagram that re posts to twitter, then create if post from twitter to go to facebook and so on.
- Login to IFTTT’s website.
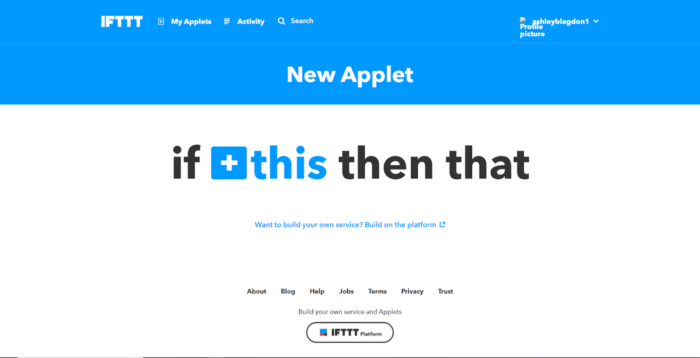
- Go to your username and click New Applet.
- Select the +This in the “If This Then That” logo toward the center-top of the page. This will allow you to look for the “trigger” that will tell your Applet when to run.
- You can then search for and select a service. In this example, we’ll use Twitter. You’ll need to connect to it and authorize access to your account.
- You’ll then see a choice of triggers. Pick one. In this example, we’ll use “New tweet from search”. Maybe there’s a tech conference happening and you want to collect all the tweets used with that conference’s hashtag (like, #CES2018).
- Now, you need to select the +That in the “If This Then That” logo toward the center-top of the page. This is where you’ll specify what you want to happen next.
- Choose an action service. For instance, you can select the weekly email digest option. This will bundle up all those hashtagged tweets.
- Review your Applet and click Finish when done.
- It’ll now be live. To view your Applet, select My Applets from the top of your IFTTT dashboard.
- If you want to change it or reconfigure it, click the gear icon on the Applet’s card, adjust the “ingredients” (aka details), and click save.
Tip… Check out IFTTT’s help hub for more details on how the service works as well as handy tutorials.
IFTTT is so handy and simple to use and it isn’t just for social media. You can also use it for making lists and doing business, which is a huge plus! There is no limit to the possibilities and advantages of this simple “If This Then That”. Go check out IFTTT.com and have fun exploring the countless ways to automate and simplify your life.
If you found this helpful, please like and follow my social pages


